Featured
4 Best Ways To Transfer Files Over LAN or Wifi Network

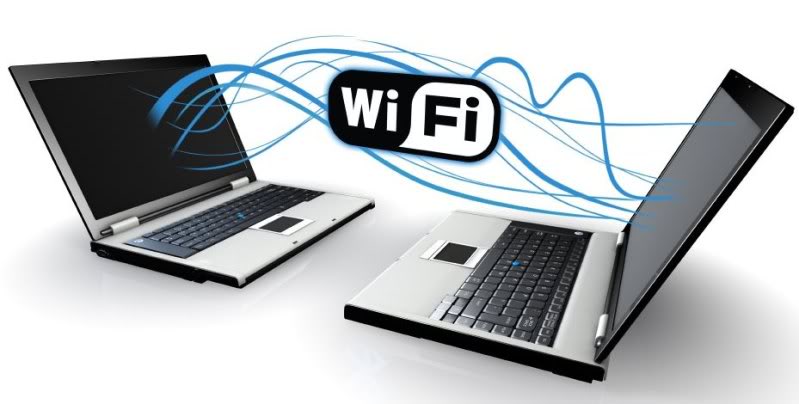
 Sometimes, transferring files between different computers becomes necessary. To achieve this, a vast majority of users use external storage mediums such as USBs or other forms of external hard drives. While it is the simplest method of data transfer for a common computer user, it has its share of drawbacks. A flash drive may get corrupted, resulting in the loss of data. In my opinion, transferring data over LAN or a Wifi Network would prove to be a much more efficient method of data transfer, in terms of both the speed of transfer and the reliability. In this article, we’ll talk about 5 ways that will enable you to achieve such data transfer for Windows OS.
As hinted above, the external storage devices can be unreliable. I can confirm my own statement through a personal experience that I’d like to mention. Once, dropping a flash drive accidentally on the floor cost me some valuable data. That opened my eyes to how unreliable an external storage device can be.
Best Ways to Transfer Data Within a Network
For the methods, I’m about to state in this article, you’ll need to have either an Ethernet cable, a Wifi connection, or certain software that I’ll show later on.
– A cross-over Ethernet cable: If you don’t have this cable, it can easily be found in the market at a relatively low cost. This can be considered as one the fastest and best ways to transfer files within a network
You should also read: Transfer Files Between Two Windows PC’s Without Any USB Device
– A Wifi connection: A computer system that supports Wifi and a Wifi connection in your vicinity that your computer can be connected to.
Before we begin any sort of data transfer using LAN or a Wifi connection, the two computers between which the data has to be shared need to be connected together. This can be done either physically or through means of a wireless technology.
NOTE: These ways of data transfer are based on the Windows 7 OS, since it’s the most popular OS in use today.
1. Transfer Data through Cross-Over Ethernet cable
If you possess a cross-over Ethernet cable, plug each end to the two computers that you wish to share the data between and follow the steps.
- On the right end of the task-bar, click on the Network Connection icon and then click on “Open Network and Sharing Center” located at the bottom of the Network Connection window.
- Once opened, in the “View your active Networks” menu, click on “Local Area Connection” located at the right side.
- The 2nd step will lead you to the “Local Area Connection Properties” window. In the list of the items that appear, open the “Internet Protocol Version 4 (TCP/IPv4)”
- Now, select the option “Use the following IP address”. In the first field, that contains the IP address, e.g. 192.168.1.x .Check the final number (x). It can be anything between 0-255, but make sure it is NOT the same as the final number of the “Default Gateway” field. This is important for you to make sure because the IP address and the Default Gateway MUST be different.
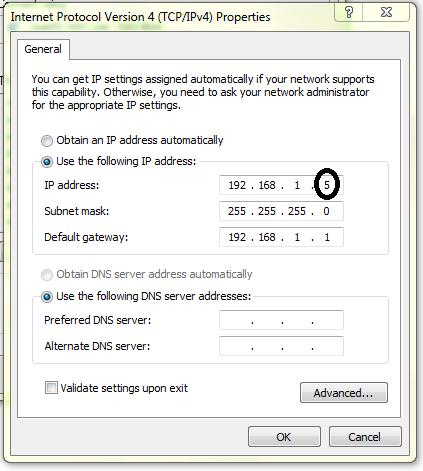
After the successful completion of the following steps, you have prepared one computer for the data transfer. Now, you’ll have to repeat the same steps for the other computer to successfully prepare both the computers. This time, you need to make sure that the Default Gateway remains the same for both the computers and the IP Address should be different for both computers. For instance, if the IP Address for the first computer is 192.168.1.5, the IP address for the second computer would differ in the sense that its last number would be something other than ‘5’, again, it can be between 0-255, BUT must be different from the default gateway as well.
Sharing of Data:
Once these settings are completed, next is the actual objective that is the transfer of data between the computers. The files can’t be shared individually, for being shared, they’ll need to be placed in a specific folder and that folder can then be shared. Follow the steps below to share the folder:
- Right click the folder.
- In the menu, select the “Share with” menu. After that click the “Specific people” option.
- After the completion of the second step, the “File Sharing” dialogue box will appear. In the dialogue box, select “Everyone” and that’s it.
Now you must copy the files to the other computer. To achieve that, follow the simple steps below:
- Press the Windows key + R.
- In the “Run” dialogue box, type in the IP address of the first computer, preceded by two backslashes () e.g. we assume that the IP address of the first computer is 192.168.1.5, enter ‘192.168.1.5’ in the field. Click “Ok” and there you go, the folder would have been shared with your computer and you can simply copy it into your own hard drive.
This concludes the data transfer through the Ethernet cable. This is one of the fastest ways of data transfer.
2. Data Transfer Through Wifi
2.1. Data Transfer Through an Existing Wifi
Another way to transfer data is through an existing Wifi network.. If you have a Wifi network and both the computers, between which the data is to be shared, are connected to the Wifi network, you can simply skip to the steps that are mentioned for sharing of the data earlier. In this case, the IP settings remain the same as they are with Ethernet. But for this method you will need to fill in a preferred DNS too which must be the same as the default gateway.
2.2. Data Transfer via New Wifi Network Setup
For those who don’t have the accessibility to a Wifi network, a new Wifi network will have to be created. To do so, follow the steps below.
- On the right end of the task-bar, click on the Network Connection icon and then click on “Open Network and Sharing Center” located at the bottom of the Network Connection window.
- In the “Change your network settings” menu below, click on “Set up a new connection or network”.
- Click on the “Set up a wireless ad hoc (computer-to-computer) network” option in the dialogue box that appears.
- Next, follow the steps given by the computer to set up a new Wifi network.
Once the new Wifi network connection is established, the other computer can be connected to it. The PC’s can be connected through the Wifi and the data transfer can take place using the same steps that we used in the data transfer through Ethernet.
3. Transfer Files Easily with Connectify
Connectify is a software that enables the sharing of data between devices. Besides sharing data, connectify has other sharing features as well but our concern remains the sharing of files between the computers, so that is what I’ll basically be teaching you. For the transfer of data between the two computers, both the computers must have the Connectify software installed and running. So before we discuss anything else, first things first.
1. Download Connectify (lite or free version)
2. Once the software has successfully been installed, restart your computer, and after doing that, run the software.

The following window appears. To proceed, click the “Start Service” button at the bottom to proceed.
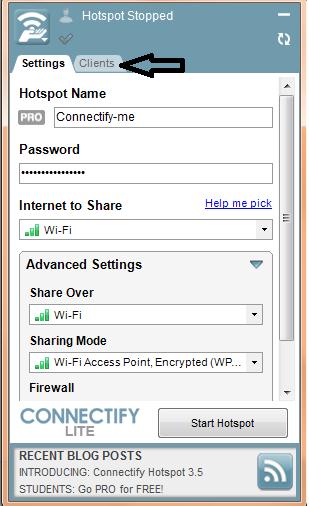
After the first step, the following window appears. Next, on the top right, click the “Clients” bar as displayed in the picture above.

Now, you can see that in the “Connectify Peers” menu, it displays the other nearby device connected to the software. Once you reach here, transferring data becomes a piece of cake. All you need is to drag the file/folder to be sent and place it on the recognized peer as shown in the picture above.

On the receiving end, the window shown above appears, click “Save As” to select your location where you want to save the file or simply click “Save to Desktop” to save the file being sent on your desktop. On the sending end, the following window appears.

The data transfer would be completed. Connectify allows the data transfer to be extremely quick and easy as you can see above.
4. Files Sharing via Folder Transfer
The final way of sharing data that is using Folder Transfer. It is an easy-to-use software that allows data to be shared with great ease. The data can be transferred to multiple computers at the same time. It allows you to send large files; there are no bounds to the file size and you don’t have to worry about any limitations. So, let’s begin.
Install the program and follow the simple steps and run the software on each computer.
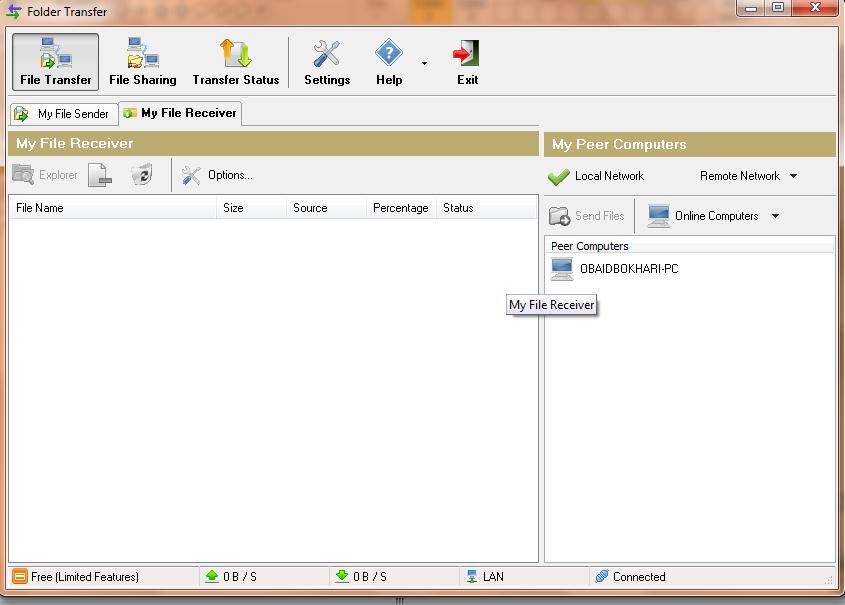
This is what will appear on your screen. As you can see in the right column “My Peer Computers”, it recognizes another computer nearby connected to the SAME Wifi connection that is using Folder Transfer. Now, in order to transfer the file to the other computer, drag the file and drop it as shown below.
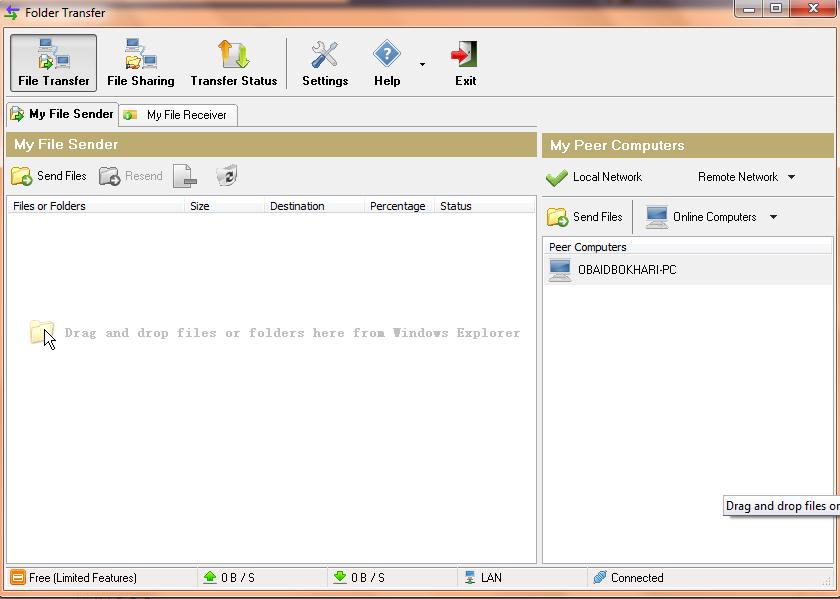
Once you have added the file that you wish to send, to the list, the following window will appear.
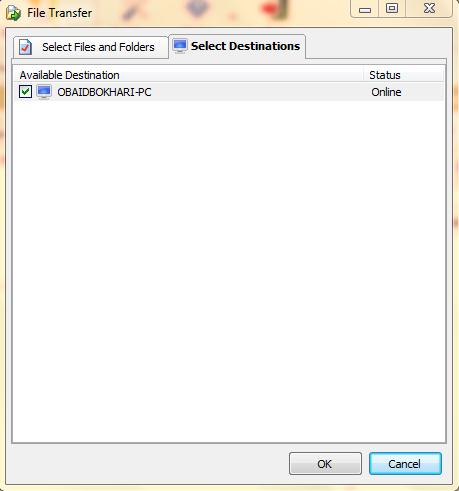
It will list all the available destinations to which the files can be sent, in this case, only one being available. Select the destination, and click “Ok”.
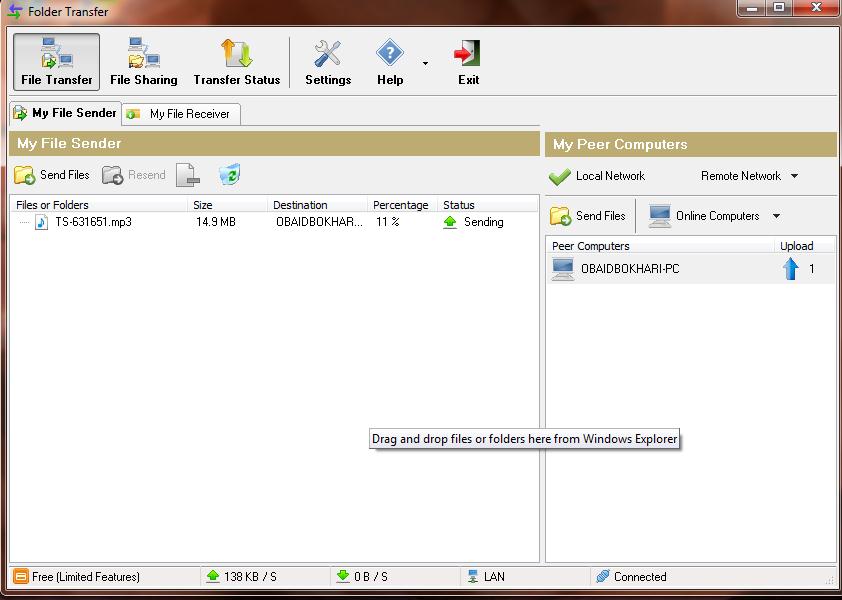
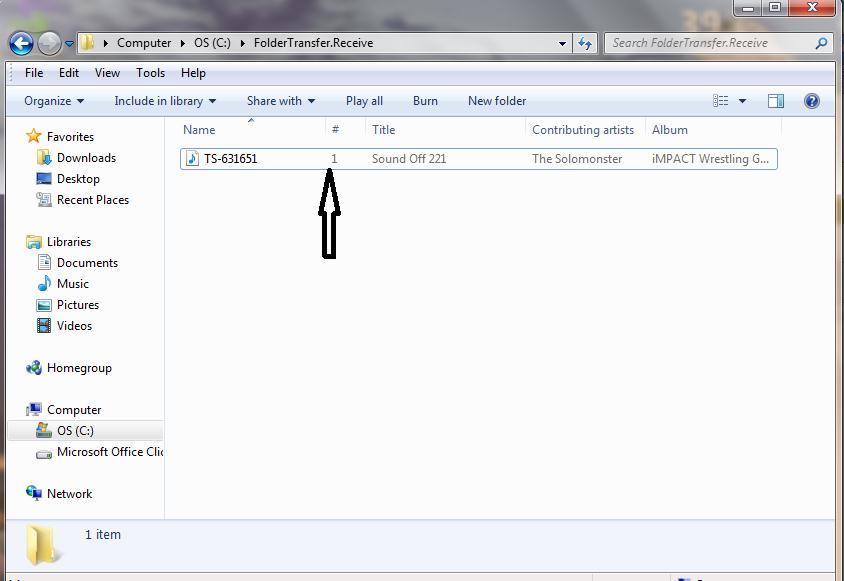
You can see the file being sent in the picture above. Once the file has been transferred successfully to the other computer, it can be located in a folder named “Folder Transfer”. Receive in your computer’s C: drive as shown below.
These were some of the easiest and best ways to transfer files within a network. I hope this article would help you.
If you have any questions or queries, feel free to ask in the comment box below.


