


Find it difficult to listen to your favorite songs? Want to download them into your PCs, iPods and other potable music players? Then here are Best...
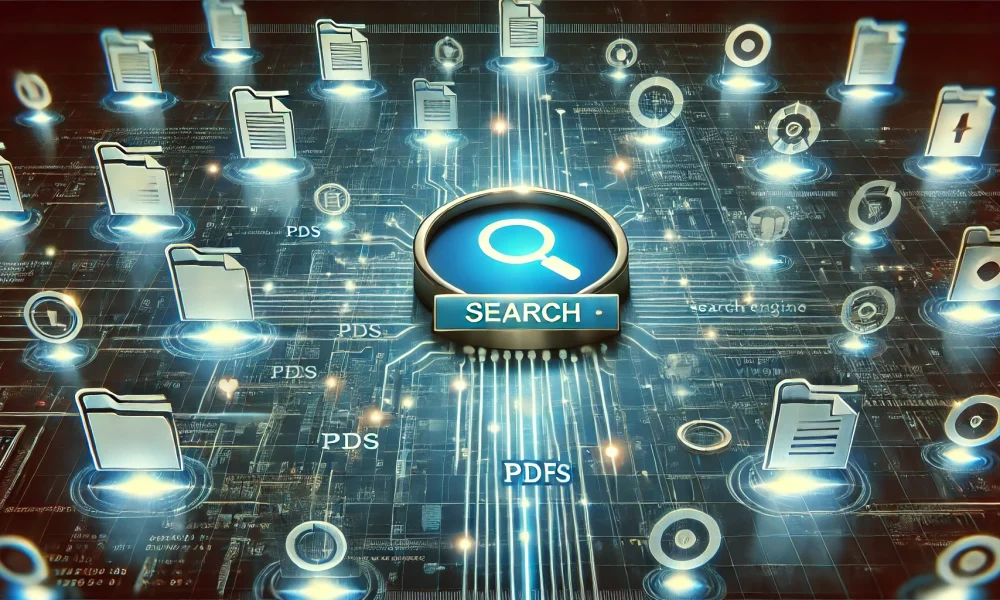

In today’s digital landscape, finding specific files across numerous file-sharing platforms can be challenging. Whether you’re searching for documents, media, or software, specialized search engines can...
The software that computer users require to updates over certain time intervals, and that results in constant notification reminders from the computer. Are you one of...
Online movies these days are one of the biggest online business in entertainment industry. Today people prefer to watch their favorite movies online as they can...

After downloading, don’t forget to grab the Full Version Activation Key for Angry Birds Space for PC After several months of waiting for the new episode...
If you are wanting a whole new level of excitement and fun in your iPhone, iPod or iPad and looking for some best sites to download...
Do not have access to change the settings in BIOS? Forgotten BIOS password? or bought a laptop from someone, but seller did not tell you the...
Mediafire.com and RapdiShare.com are two of the most popular file sharing websites. Both the sites have billions of files hosted on their servers where every second...
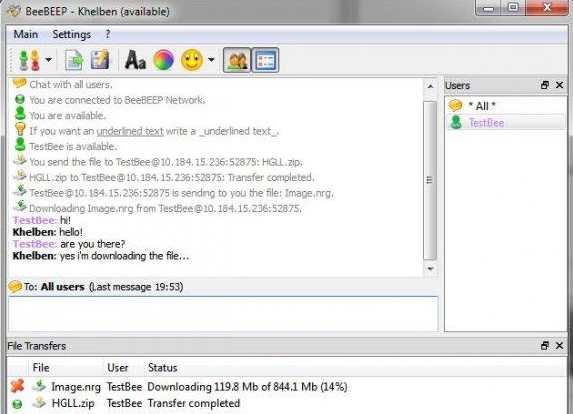
In a LAN or Local Area Network, where lots of computers are inter connected to each others, administrators often need to interact with their clients for...
You must be aware about business cards and I bet generally most of times you forget them to carry out with you. You may had carried...