


Autorun.inf is not very harmful but still the most annoying virus of all which travels through flash drives. There’s a nifty tool designed specifically for this...

Are you amid those who are looking for a perfect logo creator? Be glad! Logo Maker App has heard you. You don’t need to be a professional...
Losing valuable data and important documents are probably the biggest blow for computer users. If you have accidentally deleted something from your system? If you have...
We live in a world where we are never certain even about our life let alone anything made by us. Almost all of us make multiple...

Data loss is a very common problem these days. Users who are accustomed to store a lot of data at different locations often end up losing...
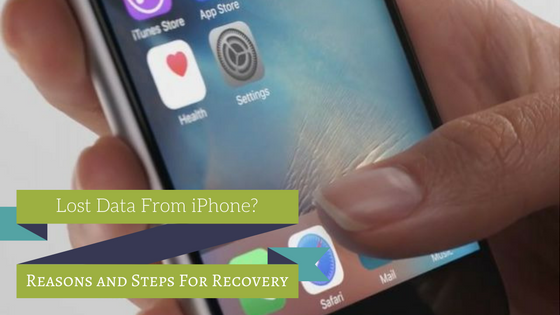
Well, if you have lost data from iPhone, it is highly likely that you may become a victim of this data loss from your iPhone for...
Key role to the success of every online business is a professional and effective website. A well maintained and effective website can open door to earn...
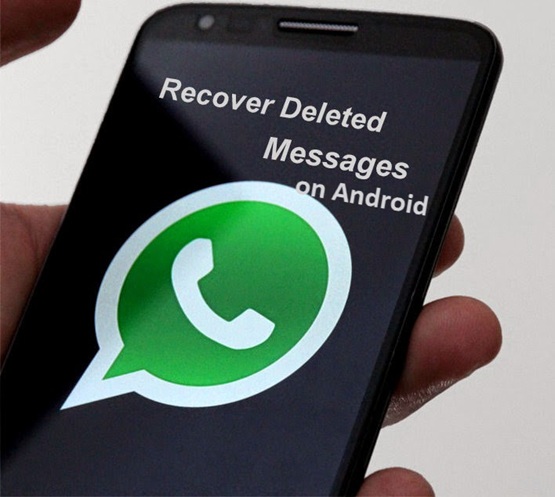
Whatsapp is one of the leading messaging apps available for different kinds of smartphones powered by iOS, Android, Windows, and Symbian. It provides users a convenient...

We’re living in the world where competition between agencies, corporations and firms is getting tough. Everyone is trying to offer better products, better solutions, and better services....

Nowadays People regularly looking online website services. They mostly know more about your website before hiring your services or stepping into your web store. It’s a...